Securing your home doesn’t have to mean hiring expensive professionals or dealing with complicated wiring. Owl security cameras bring straightforward, effective monitoring directly to homeowners and DIY enthusiasts who want control without the headache. Whether you’re protecting an entryway, driveway, or backyard, these cameras blend reliability with smart home integration, giving you peace of mind whether you’re home or away. This guide walks you through everything you need to know about Owl security cameras: from setup and placement to maintenance, so you can install them confidently and keep your home watched 24/7.
Table of Contents
ToggleKey Takeaways
- Owl security cameras offer 1080p or 4K resolution with night vision, wide-angle lenses, and two-way audio, making them a practical choice for DIY homeowners seeking reliable home protection without complexity.
- Installation takes minutes with basic tools—mount the bracket, run power, connect to WiFi through the Owl app, and adjust the lens angle for optimal coverage without needing an electrician.
- Strategic placement at entry points (8–10 feet high), driveways (10–12 feet), and backyards prevents blind spots and ensures your Owl camera captures faces, license plates, and packages clearly.
- Integrate Owl security cameras with Alexa, Google Home, and automation platforms like IFTTT to receive customizable motion alerts, trigger smart lights, and view live feeds remotely on connected displays.
- Monthly lens cleaning, quarterly power connection checks, and regular firmware updates keep your Owl camera operating at peak performance and extend its lifespan in harsh outdoor weather conditions.
What Makes Owl Security Cameras Stand Out
Key Features and Technology
Owl security cameras deliver several features that appeal to homeowners looking for solid, reliable protection without unnecessary complexity. They typically offer 1080p or 4K video resolution, allowing you to capture fine details, license plates, faces, and package labels, from a distance. Night vision with infrared capability means your coverage doesn’t stop when the sun goes down: the camera switches to black-and-white thermal imaging to track movement in complete darkness.
A built-in wide-angle lens (often 130–160 degrees) covers more ground than standard cameras, reducing the number of units you need to install around your property. Two-way audio lets you speak through the camera speaker, useful for warning off package thieves or greeting delivery drivers without stepping outside. Cloud storage or local recording options give you flexibility: you choose whether footage lives on Owl’s servers, your phone, or an external hard drive connected to a hub.
Many Owl models include motion detection with customizable zones, so the camera alerts you only when activity happens in areas you care about, not every passing car or swaying tree branch. Integration with platforms like Alexa and Google Home means you can voice-control your cameras and view live feeds on connected displays around the house. Weather-resistant casing rated IP65 or higher ensures the camera handles rain, dust, and temperature swings without failing.
These features combine into a system that feels less like a spy tool and more like a second set of eyes. You’re not paying for premium branding: you’re getting practical capability that homeowners actually use.
Installation and Setup Made Simple
Getting an Owl camera running takes minutes if you follow the manufacturer’s steps. No electrician, no running cables through walls, just mounting, power, and WiFi pairing.
What You’ll Need:
- Owl security camera unit (weatherproof models for outdoor use)
- Mounting bracket (included with most Owl cameras)
- Screws and anchors appropriate for your wall material (drywall anchors, concrete screws, stainless steel fasteners for coastal areas)
- Drill-driver with bits, or a cordless screwdriver
- Level
- Power source: USB-C cable with a plug rated for outdoor use, or a wired connection to existing electrical (permits may apply)
- Smartphone with the Owl app installed
Installation Steps:
- Choose a location with direct view of the area you want to monitor (detailed placement guidance below).
- Hold the mounting bracket against the wall and mark the screw holes with a pencil.
- Drill pilot holes using a bit slightly smaller than your screw diameter to prevent cracking.
- Screw the bracket into place using a level to ensure it’s straight.
- Attach the camera to the bracket and tighten any locking fasteners.
- Run the USB power cable to a weatherproof outlet or power bank rated for outdoor use (never run extension cords in high-traffic areas: tape them down or conceal them).
- Open the Owl app, select Add Device, and follow the on-screen prompts to connect the camera to your WiFi.
- Aim the lens and adjust the bracket angle for optimal framing.
Key Safety Notes:
- If you’re running power from an existing outlet, verify the circuit capacity and check local electrical codes. Many jurisdictions require a licensed electrician for outdoor receptacles.
- Wear safety glasses when drilling to protect against dust and flying debris.
- Check that the camera is completely secure before leaving the mounting area: a falling camera poses injury and property damage risks.
- Ensure your WiFi signal is strong at the camera location: weak signals cause dropped feeds and failed recordings.
If you’re uncomfortable drilling into masonry or running outdoor power, hire a handyperson or electrician for that portion. The app setup and angle adjustment are simple enough to do yourself once the hardware is mounted.
Choosing the Right Placement for Maximum Coverage
Smart placement determines whether your camera actually catches intruders or just records a fence post. Think about sight lines and what you actually want to monitor.
Primary Entry Points:
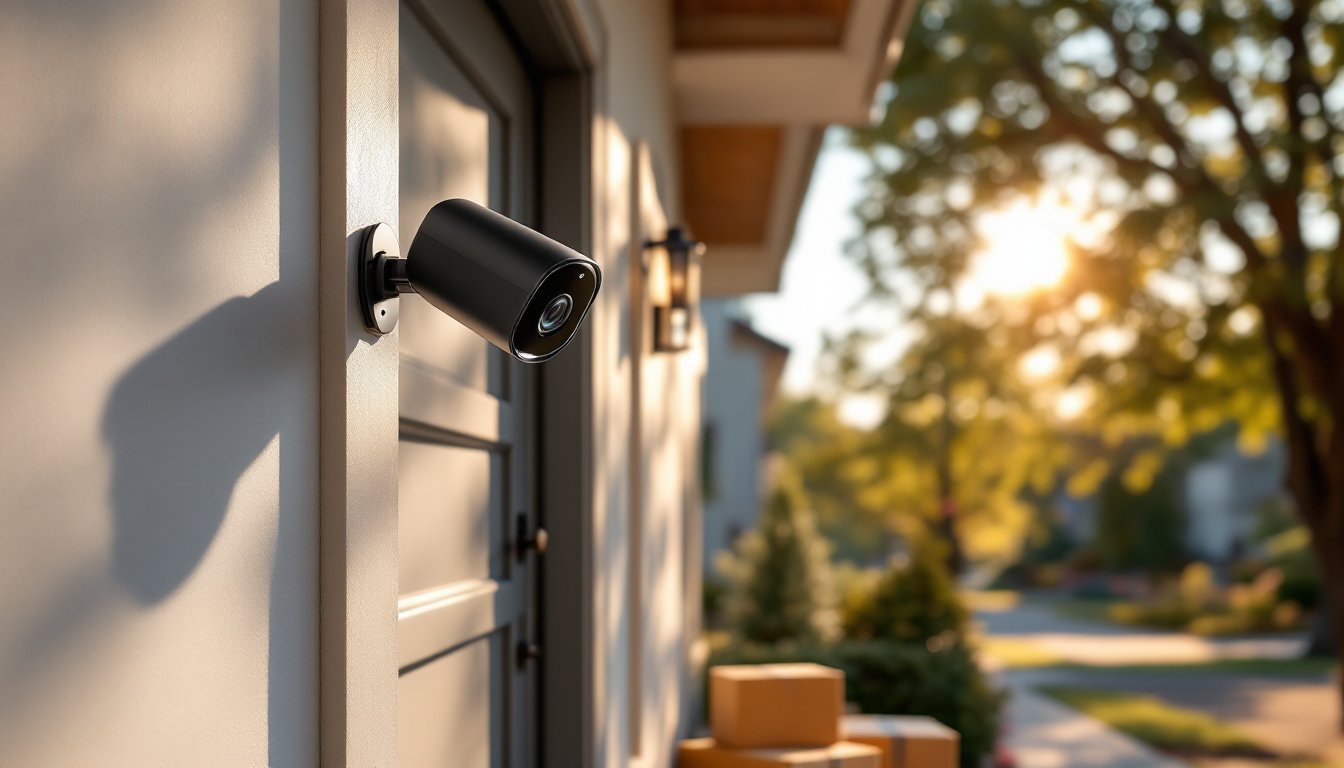
Most break-ins happen at front doors, side doors, and sliding glass doors. Mount a camera 8–10 feet high on the door frame or nearby wall to capture faces straight-on without shadows from the eave. A wide-angle lens covers both the entrance and approach path simultaneously. Avoid mounting directly above the door where glare from the door frame washes out facial features.
Driveway and Garage:
Position the camera to catch the full width of the driveway or garage opening. A 10–12-foot height gives a clear view of license plates and packages left on concrete. Angle it slightly downward to avoid reflection off car hoods.
Backyard:
If your rear fence or yard is the weak point, install a camera pointed across the property, not straight at a fence or hedge (which wastes range). Mounting height of 6–8 feet often works best for backyards. Watch for trees or thick vegetation that can block the view or trigger false motion alerts from wind-blown branches.
Avoiding Common Mistakes:
- Don’t point directly into the sun or a bright light source. Backlighting washes out video and confuses motion detection.
- Keep the lens clear of obstructions. Even a small spider web or condensation degrades image quality. Plan for cleaning access.
- Avoid mounting where rain flows directly over the lens. A slight overhang or angled mounting helps water run off instead of collecting.
- Test the WiFi signal at the proposed location. Walk the installation site with your phone and confirm bars near the mounting height.
- Consider privacy lines. Neighbors may object to cameras pointed into their windows or yards. Angle your camera to cover your property only.
Once installed, test the live feed and review a full day’s motion logs to verify coverage. Adjust the angle or height if large blind spots appear.
Integrating With Your Smart Home System
A security camera works harder when it talks to other smart home devices. Owl’s integration options mean alerts, automations, and remote viewing fit seamlessly into your existing setup.
Connecting to Alexa or Google Home:
Both voice assistants let you enable Owl camera skills or actions through their respective apps. Once linked, you can say “Alexa, show me the front door” to pull a live feed on an Echo Show or other compatible display. Routines can trigger notifications when motion is detected during specific times, for example, an alert if the doorbell motion sensor activates after midnight.
To set this up, open the Owl app, find the Integrations or Smart Home Settings section, and select your voice platform. Authenticate your account and grant the necessary permissions. The linking takes under a minute.
Mobile Alerts and Notifications:
Configure push notifications in the Owl app so your phone buzzes when motion is detected or someone rings the doorbell. Set notification zones to reduce false alarms, tell the camera to ignore motion near the street but alert on motion close to the front door. Recent smart home technology news and reviews regularly cover how these notification customizations improve usability.
Local Network Recording and Cloud Backup:
Many Owl systems let you record locally to a hub or NAS (network-attached storage) while also backing up critical clips to cloud storage. Local recording keeps footage even if your internet goes down, while cloud backup ensures you don’t lose evidence if someone steals the hub. Configure both if your setup supports it.
Third-Party Automation:
Platforms like IFTTT (If This Then That) and smarterHome allow Owl to trigger other smart devices, for instance, turning on outdoor lights when motion is detected after sunset. Research which platforms Owl currently supports, as integrations change. The setup usually involves creating a small automation recipe in the third-party app and authorizing it to access your Owl account.
Tip: Avoid overloading your WiFi network. A home router with 20+ connected devices can experience lag or dropouts. If your network feels strained, consider a dedicated WiFi 6 mesh system or a separate smart home bandwidth band if your router supports it.
Maintenance Tips to Keep Your Cameras Running Smoothly
Once installed, Owl cameras need minimal upkeep, but a little preventive care extends their lifespan and keeps video quality sharp.
Monthly Lens Cleaning:
Dust, spider webs, bird droppings, and pollen cloud the lens over time, degrading image quality. Once a month, power down the camera and gently wipe the lens with a soft, lint-free microfiber cloth (the kind used for glasses or camera lenses). For stubborn grime, breathe onto the lens to create a light condensation, then wipe. Never use paper towels or abrasive cloths: they scratch glass. If debris is stuck, slightly dampen the cloth with distilled water, not tap water, which leaves mineral residue.
Power Connection Checks:
Review the USB-C cable and connector every three months. Look for corrosion, fraying, or loose connections. If you notice discoloration around the connector, unplug it, let it dry, and ensure the outlet is rated for outdoor use (GFCI-protected, ideally). Oxidation on contacts reduces power transfer and can cause the camera to reboot unexpectedly. A quick wipe with an electronics-safe contact cleaner restores connection quality.
Weather-Related Wear:
After heavy storms, check the camera housing for water intrusion around seams or the lens barrel. Owl cameras carry an IP65 or IP67 rating, meaning they resist water jets and some submersion, but seals degrade after years of UV exposure and temperature cycling. If you notice condensation inside the lens (a tiny fog on the inside surface), the seal is compromised and the unit may need replacement.
Firmware Updates:
Check the Owl app monthly for firmware updates. These patches add features, improve WiFi stability, and close security vulnerabilities. Most updates install automatically if you enable auto-update in the app settings, but manual updates ensure zero downtime on critical cameras. Updates typically take 5–10 minutes and require the camera to be powered and online.
Storage Management:
If using local recording, review storage utilization every month. Full drives stop recording. Most systems let you set automatic deletion of footage older than 30–90 days, freeing space as new clips arrive. Cloud-based systems manage this automatically, but check your subscription tier, free plans often limit retention to 7 days.
WiFi Stability:
If your camera frequently disconnects or shows low WiFi bars in the app, the issue is usually distance or interference. Reposition your router, move the camera closer, or add a WiFi extender. A weak signal causes the camera to consume more battery power (if wireless) and misses motion alerts because the device goes to sleep to conserve power.
Documentation:
Keep a record of your camera’s MAC address (found on a sticker or in the app), purchase date, and warranty expiration. If something fails, you’ll need the MAC to troubleshoot with support and will know whether it’s still covered.
Conclusion
Owl security cameras handle the everyday responsibility of watching your home so you don’t have to. From straightforward installation and smart home integration to practical maintenance routines, they’re built for the DIY homeowner who values clarity, reliability, and honest functionality. Install them right, place them smart, and give them a little attention each month, and they’ll keep your property protected for years. Reviews from trusted outlets like CNET often validate that Owl systems deliver real-world reliability at an accessible price point, making them a solid choice for home security that works the way you need it to.