Motion sensor security lights have become a standard part of home protection, combining visibility with convenience. Unlike traditional floodlights that burn all night, these fixtures activate only when movement is detected, making them smarter for both your wallet and your property’s safety. Whether you’re securing a dark entryway, lighting a back patio, or monitoring a driveway, motion-activated lights fill gaps that standard outdoor lighting leaves behind. This guide walks you through how they work, their real-world benefits, the types available, and how to install them yourself, no electrician required for most standard setups.
Table of Contents
ToggleKey Takeaways
- Motion sensor security lights activate only when movement is detected, using passive infrared (PIR) technology to reduce energy consumption by 80-90% compared to traditional always-on outdoor lighting.
- Homes equipped with motion-activated outdoor lighting experience fewer break-ins, particularly during evening hours, while the sudden burst of illumination deters intruders and enables clear visibility of your property.
- Motion sensor security lights typically pay for themselves within 1–3 years through energy savings of $40–$60 annually per fixture, plus extended LED bulb life of 15,000–50,000 hours.
- Three main installation types are available: hardwired fixtures for maximum reliability, battery-powered options for flexibility, and solar-powered models for maintenance-free operation in sunny climates.
- Most DIY motion sensor light installations require no electrician for battery-powered or solar models, though hardwired setups demand electrical code compliance and careful attention to power safety procedures.
- Optimal sensor placement at 6–10 feet high, facing the monitored area but avoiding direct heat or light sources, ensures reliable motion detection while minimizing false triggers from environmental factors.
What Are Motion Sensor Security Lights and How Do They Work?
A motion sensor security light is a fixture that combines a floodlight or spotlight with a passive infrared (PIR) sensor. The PIR detector senses warm bodies moving through its field of view and triggers the light to turn on. Most models stay on for a set time, typically 30 seconds to 5 minutes, then switch off automatically if no further motion is detected.
The sensor itself emits no light or radiation: it simply reads changes in infrared heat. This is why they’re “passive.” When someone walks past, the temperature shift across the sensor’s lens triggers a relay that completes the electrical circuit and powers the light. You can adjust sensitivity and duration using dials or buttons on the fixture or a remote control, depending on the model.
These lights use either incandescent, halogen, LED, or CFL bulbs, though LED has dominated the market since the early 2020s. LED motion sensor lights last 15,000 to 50,000 hours and consume far less power than older technologies. Some high-end models include smart features like WiFi connectivity, app controls, or integration with home automation systems, though basic wired and battery-powered versions still do the job reliably for most homeowners.
Key Benefits for Your Home and Safety
Deterring Intruders and Enhancing Security
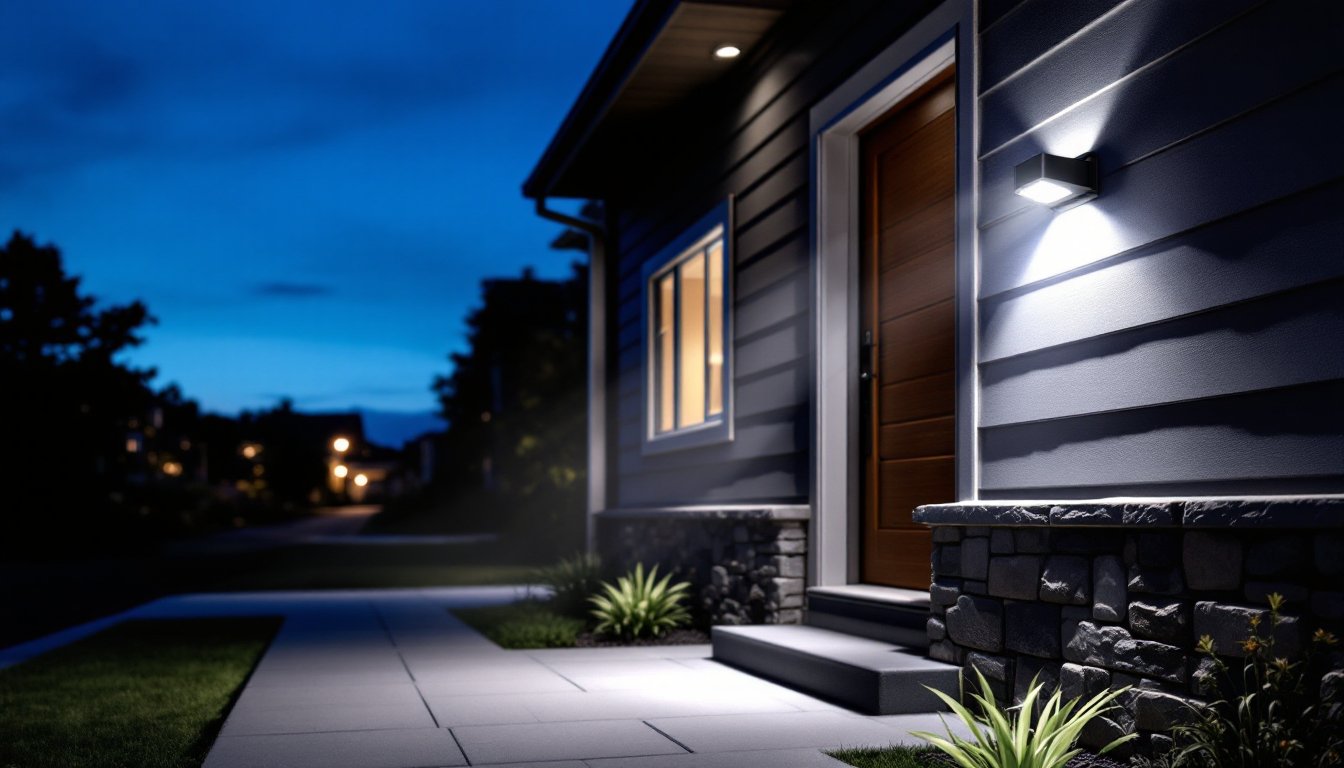
The immediate benefit of motion sensor lights is visibility where you need it most. A dark entrance or blind corner suddenly floods with light when someone approaches, whether that’s you coming home or an unwanted visitor. This burst of illumination serves two purposes: it lets you see clearly, and it signals to potential intruders that the property is monitored and well-lit. Studies consistently show that homes with motion-activated outdoor lighting experience fewer break-ins, particularly during evening hours.
Beyond the obvious deterrent, these lights make it harder for someone to move around your property undetected. If a motion sensor triggers at 2 a.m. while you’re inside, you know something is there. Many homeowners pair these lights with security cameras to create a layered defense, the light captures video while alerting residents to activity.
Energy Efficiency and Cost Savings
If you’ve ever left a porch light on all night, you know it adds up. A traditional 100W incandescent bulb burning 12 hours daily costs roughly $50–$70 per year in electricity. A motion sensor light cuts that usage dramatically. It might run for 2–3 minutes per triggering event: even if activated 50 times per day, that’s only 100–150 minutes total. An LED motion sensor light using 12W in the same scenario costs around $5–$10 per year.
Switching from always-on porch lights to motion-activated fixtures typically saves $40–$60 annually per light. On a home with three exterior lights, that’s meaningful money, especially over a decade. LED bulbs in motion sensor fixtures last 3–5 years without replacement, compared to annual or twice-yearly swaps for incandescent bulbs. The combination of reduced runtime and longer bulb life makes the upfront investment, usually $25–$150 per fixture, pay for itself within 1–3 years.
Types of Motion Sensor Lights to Choose From
Hardwired electric fixtures connect directly to your home’s existing electrical circuit, typically via a junction box near your entryway, garage, or patio area. These are the most reliable because they draw consistent power and don’t depend on batteries. Installation requires running wire through conduit and potentially cutting into eaves or siding, so a building permit may be required depending on your jurisdiction’s electrical code. The payoff: uninterrupted operation and no battery maintenance.
Battery-powered motion sensor lights mount with adhesive or screws, no wiring needed. They’re ideal for temporary setups, rental properties, or areas where running electrical wire would be expensive or impractical. Runtime depends on battery type: alkaline models last 6–12 months, while rechargeable solar-powered versions run indefinitely during daylight recharge cycles. Brightness is lower than hardwired fixtures, typically 200–500 lumens versus 800–2000 lumens for wired models.
Solar motion sensor lights include an integrated solar panel that charges a rechargeable battery during the day. They’re maintenance-free in sunny climates and require zero wiring. In overcast regions or northern latitudes, they’re less dependable, especially in winter when daylight hours drop and battery capacity dwindles. Look for models with at least 0.5W solar panels and 2000mAh rechargeable batteries for adequate performance.
Smart and WiFi-enabled motion lights connect to your home network, allowing remote control via smartphone app, voice assistants (Alexa, Google Home), and integration with broader home automation routines. You can adjust sensitivity, scheduling, and brightness from anywhere. These cost 40–80% more than standard fixtures but offer flexibility for complex setups. Many models also log activity, creating a simple security record. Top-reviewed options appear in recent motion sensor light reviews, which compare hardwired, solar, and WiFi models side by side.
Installation Tips for DIY Homeowners
For hardwired installations, you’ll need to confirm your local electrical code permits this work (some jurisdictions require a licensed electrician). Always turn off power at the circuit breaker before beginning. Use a voltage tester to confirm the circuit is dead, this is non-negotiable.
- Run 14/2 or 12/2 NM cable (Romex) through conduit from your breaker box to the fixture location. Bury the conduit to protect it from damage and UV exposure. Actual wire gauge depends on circuit amperage: consult your local electrical inspector if unsure.
- Mount the fixture base to a stud or blocking using rust-resistant stainless steel fasteners, not regular screws. The sensor lens should face the area you want monitored.
- Strip 6–8 inches of sheathing from the cable, then connect black (hot), white (neutral), and bare copper (ground) to the corresponding terminals on the fixture. Use wire nuts rated for the wire gauges involved.
- Secure all connections inside the fixture’s waterproof housing. Caulk around the base with polyurethane caulk, not silicone, to allow flexibility and water drainage.
- Turn power back on and test. Adjust the sensor sensitivity and timer settings according to your needs.
For battery-powered models, simply peel and stick the adhesive backing to a clean, dry surface, or drill pilot holes for screws. Position the sensor facing the path you want to monitor. No electrical knowledge required, insert batteries and adjust the sensitivity dial.
Sensor placement matters. Avoid aiming directly at light sources (streetlights, spotlights, windows) or heat sources (HVAC vents, chimneys) that can cause false triggers. Mount the sensor 6–10 feet high for optimal detection range. Most PIR sensors have a 30–40-foot range and detect motion best when the target moves across the sensor’s field of view, not directly toward or away from it.
Test thoroughly before relying on it. Walk through the detection zone at different distances and angles. Adjust sensitivity if you’re getting triggered by leaves blowing or passing traffic. Peer-reviewed guidance on DIY security upgrades, including motion sensor installation, appears on smart home security resources and motion sensor product comparisons, which cover both installation and troubleshooting.
Conclusion
Motion sensor security lights earn their place in any home’s exterior setup. They boost safety and visibility exactly when you need it, cut energy waste, and most models install without professional help. Start with your highest-risk areas, dark entries, blind corners, and commonly accessed routes, and expand from there. Whether you choose hardwired reliability, solar convenience, or WiFi-enabled control, the right motion sensor light fits your property and budget.