Installing a smart home doesn’t require an electrician’s license or deep tech knowledge, just patience and a clear plan. Whether you’re adding a few smart lights or building a fully automated system, the fundamentals remain straightforward: choose compatible devices, set up a reliable hub, and connect them thoughtfully. This guide walks homeowners through the essentials of smart home installation, from selecting the right devices to avoiding common pitfalls that derail first-time installers.
Table of Contents
ToggleKey Takeaways
- A smart home install requires three core components: compatible connected devices, a reliable hub with multi-protocol support, and solid Wi-Fi infrastructure to keep everything communicating seamlessly.
- Start your smart home installation small with three to five device categories, test each one thoroughly, and expand gradually to avoid frustration and network overload.
- Weak Wi-Fi is the leading cause of smart home failures, not hardware—ensure at least 2–3 bars of signal strength across your installation area or invest in a mesh system.
- Device compatibility is non-negotiable; verify each device works with your chosen hub before purchasing to avoid costly mismatches.
- Follow the setup sequence precisely: hub first, add devices one or two at a time, test each device, update firmware, and build automations last to prevent troubleshooting headaches.
- Use descriptive device names and spend 10 minutes reading manuals before installation, as most setup problems stem from poor planning rather than hardware defects.
Understanding Smart Home Basics Before You Start
Before buying anything, know what you’re actually building. A smart home system relies on three core components: connected devices (lights, thermostats, locks, cameras), a hub that acts as a brain for the network, and your home’s Wi-Fi infrastructure. The hub communicates with devices and lets you control them from your phone or voice assistant, if one component fails, the whole system stumbles.
Also understand the difference between cloud-based and local control. Cloud systems send commands through the internet, which is convenient but dependent on your ISP staying up. Local control keeps commands within your home network, offering faster response times and better privacy. Most systems offer hybrid setups: core functions work locally, while remote access uses the cloud.
Compatibility is non-negotiable. Some devices use Wi-Fi, others use Zigbee or Z-Wave, wireless protocols that work on lower frequencies, use less power, and mesh across your home. A hub supporting multiple protocols is worth the investment. Don’t assume every “smart” label means everything talks to everything: check compatibility before checkout. Your Wi-Fi needs to be solid too, routers should cover every installation area with at least 2-3 bars of signal.
Essential Devices to Prioritize for Your First Installation
Start small. Too many homeowners load their cart with every gadget available, then abandon the project halfway through setup. Pick three to five device categories, get them working flawlessly, then expand. This prevents frustration and lets you learn how the ecosystem actually works in your space.
Smart Lighting and Hubs
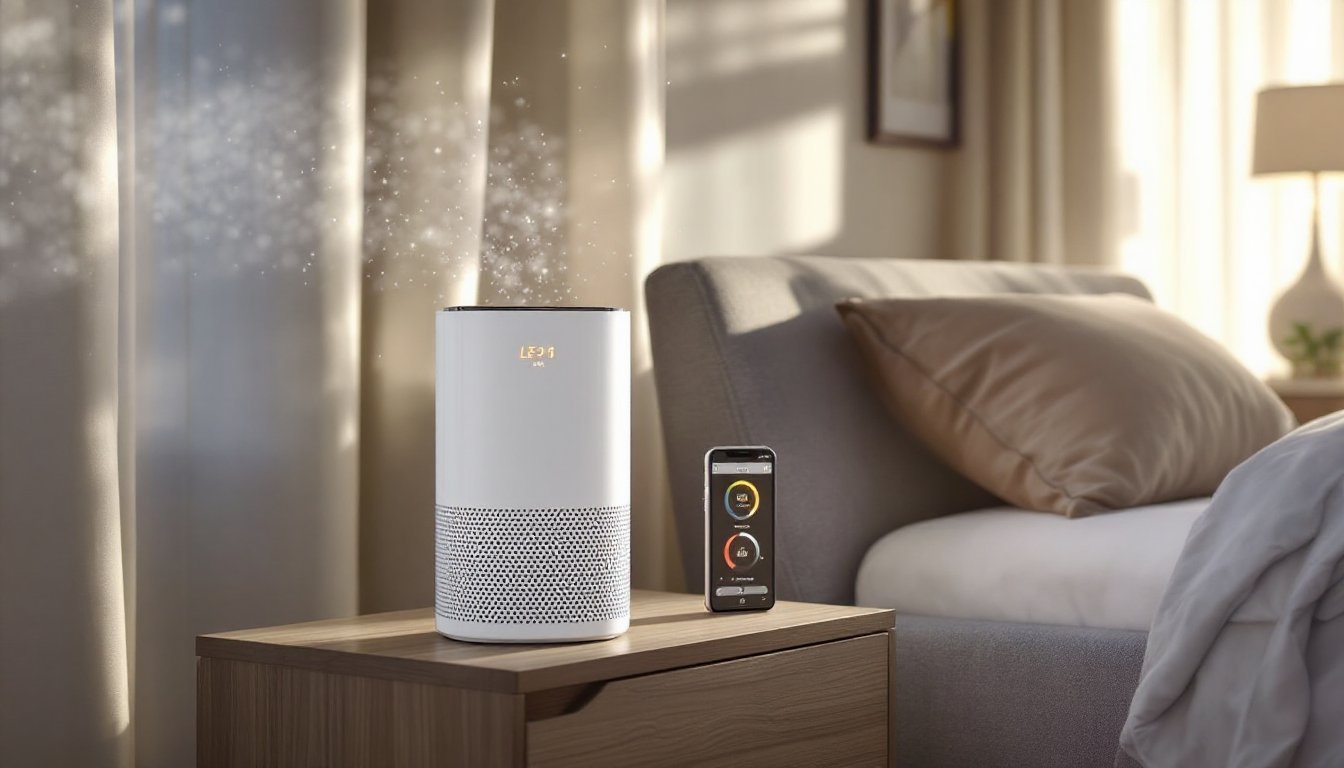
Smart bulbs are often the easiest entry point. LED smart bulbs (like Philips Hue, LIFX, or similar) screw into existing fixtures, connect directly to Wi-Fi or via a hub, and let you dim, color, and schedule lights from your phone. They cost $15–$50 per bulb depending on features. Skip the fancy color options on your first bulb, get a few brightness-dimming ones to see how you actually use the tech.
The hub is the traffic cop. Popular options include Amazon Echo (Alexa), Google Home, Apple HomePod, or dedicated hubs like SmartThings. The hub unifies devices that don’t all speak the same language and handles automations when your phone isn’t around. One solid hub is better than three mediocre devices. Budget $100–$200 for a reliable hub with multi-protocol support. For detailed setup, smart home tech tips offer concrete recommendations on choosing the right foundation for your network.
Security and Climate Control
Smart locks and thermostats deliver real convenience and cost savings. A smart thermostat like Ecobee or Nest learns your schedule, adjusts temperature automatically, and cuts energy bills by 10–15% in many homes. Installation ranges from 30 minutes (simple swap on standard wiring) to needing a pro if your current system is older or exotic. Installing a smart thermostat involves turning off power, removing the old unit, identifying wire colors, and connecting them to the new thermostat, straightforward on most systems but worth consulting the manual first.
Smart locks (like August, Level, or Schlage Encode) replace or augment your deadbolt, letting you unlock via phone, keypad, or voice. They mount on the interior side of the door, no drilling through the frame, and swap into the existing hardware. Battery-powered models avoid running wires. Factor in 20–30 minutes for installation plus time to reprogram access codes.
Step-by-Step Installation Process
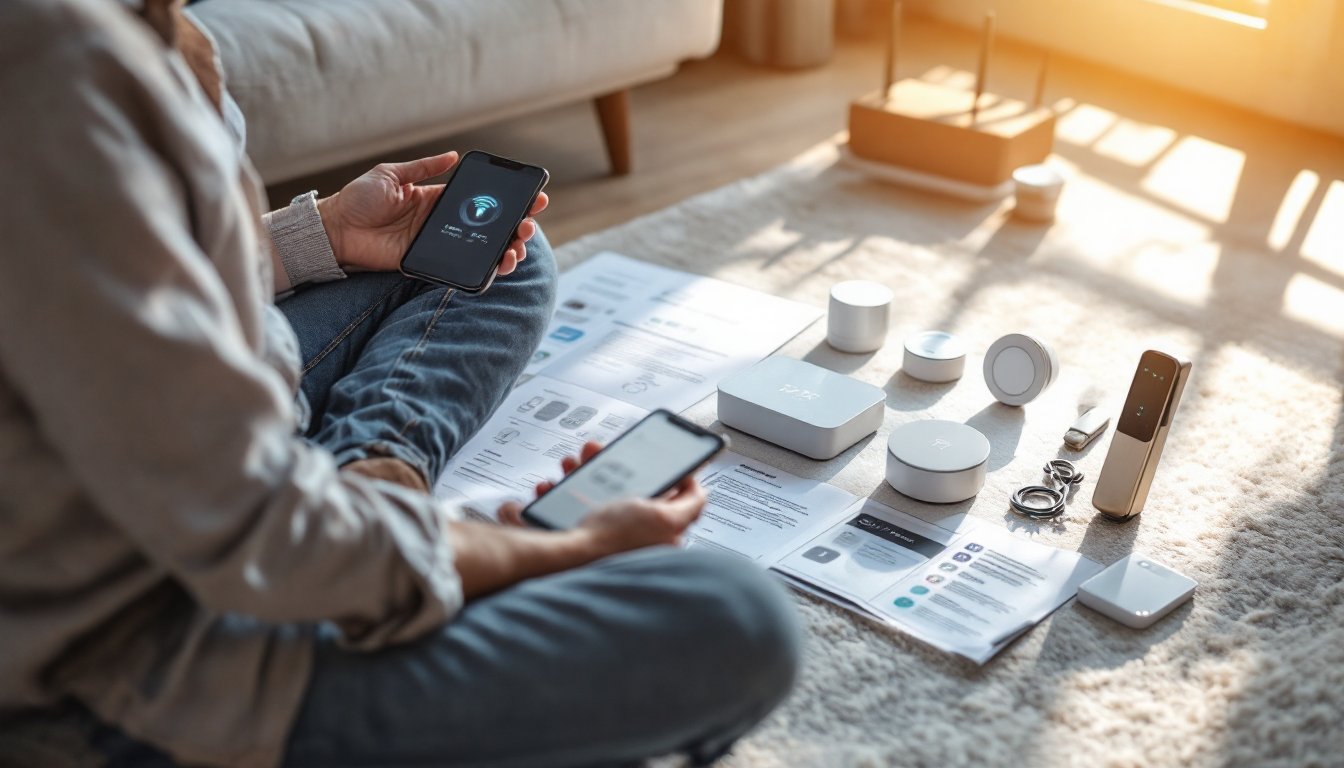
Installation order matters. Start with the hub, get it online, then add devices one or two at a time. Rushing through setup is where things fall apart.
Setting Up Your Smart Hub and Network
-
Choose your location wisely. The hub should sit centrally in your home, ideally on a shelf or cabinet rather than in a closet or corner. It needs clear Wi-Fi signal and shouldn’t be buried behind the router or microwave. Apartments and dense urban homes may need hub placement away from interference sources.
-
Power it up and connect to Wi-Fi. Plug in the hub, open the manufacturer’s app, and follow the guided setup. You’ll create or log into an account, connect to your home Wi-Fi network (use the 2.4 GHz band if the hub struggles with 5 GHz), and confirm the connection. This usually takes 5–10 minutes. Don’t skip this step, a weak connection causes devices to drop offline.
-
Update firmware immediately. Most hubs have firmware updates pending on first setup. Install them before adding devices. This prevents compatibility bugs and security issues. Updates take 5–10 minutes and the hub will restart.
-
Add devices one at a time. Reset the smart bulb, lock, or thermostat to factory settings (usually holding a button for 10 seconds), then use the hub’s app to search for new devices on the network. Wait for the device to appear, name it clearly (“Living Room Lamp,” not “Light 1”), and assign it to a room or zone. This avoids confusion later and makes automations easier to build.
-
Test each device before moving to the next. Toggle the light on and off via the app. Unlock the door and lock it again. Confirm the thermostat responds to temperature commands. If a device doesn’t respond, restart it and the hub, most issues resolve there. If it still fails, pull the device, reset it, and try adding it again.
-
Build simple automations last. Once all devices are added and responding, set up a basic automation: “Turn lights on at sunset” or “Adjust thermostat to 68°F when I leave home.” Start with one or two automations to confirm the system behaves as expected. Over-complicated automations cause conflicts and hard-to-debug failures. For comprehensive guidance on techniques and approaches, smart home tech techniques provides practical frameworks for automation design.
This methodical approach takes 2–4 hours for a five-device setup but saves troubleshooting headaches later. Rushing through setup and adding 20 devices at once nearly guarantees frustration.
Avoiding Common Installation Mistakes
Most DIY smart home failures aren’t hardware problems, they’re setup missteps or unrealistic expectations.
Weak Wi-Fi kills more systems than bad hardware. If your devices keep disconnecting, the issue is almost always signal strength, not the device itself. Run a Wi-Fi speed test near the installation area. If signal drops below 2 bars, move the router, add a mesh Wi-Fi system, or relocate the hub. A $100 mesh upgrade solves more problems than buying new devices.
Incompatibility surprises happen when folks assume all “smart” devices work together. They don’t. That LIFX bulb won’t talk to a Samsung SmartThings hub without a workaround. Check the fine print before buying, cross-reference the device with your chosen hub on the manufacturer’s website. Best smart home devices of 2026 curates options by ecosystem, which helps avoid mismatches.
Skipping the manual leads to frustration. Smart thermostats require knowing wire colors: smart locks need accurate backset measurements: smart bulbs sometimes need the light switch in the “on” position to work. Spend 10 minutes reading the manual before opening the box. It answers 90% of install questions.
Overloading your network with too many devices at once invites chaos. The hub can handle dozens of devices, but adding 15 new devices simultaneously while trying to automate them all is a recipe for connection drops and mysterious behavior. Expand gradually: three devices, get comfortable, add three more.
Poor device naming creates confusion down the line. “Light 1” means nothing six months later. Use descriptive names: “Kitchen Overhead,” “Master Bedroom Lamp,” “Front Door Lock.” It takes 30 extra seconds per device and saves hours of troubleshooting.
Also be realistic about voice control. Alexa, Google Assistant, and Siri work well, but they’re not magic. They listen for wake words, process commands, and send instructions through the hub. Background noise, accents, and unclear phrasing cause failures, voice control complements but doesn’t replace the app. The ultimate smart home setup guide walks through real-world scenarios and expectations for voice integration.